Last Updated on January 31, 2018 by Babita
I love making my own photography backdrop. I like coming up with different variations. It is something that I can be creative with and have a fun time doing it. Having a good backdrop is a must especially for food pictures. My previous project included painted backdrops. I bought some plain 2′ x 2′ plywood and colored them with Behr Indoor paint sample of my choice. I loved the process of making these, and after playing around with the colors, I felt the two below would work well for my pictures. You can see the project here.
The advantages of making your own photography backdrop are many
- It is a flexible project. You can come up with endless options and varieties of backdrops.
- It is cheaper to create your own backdrop. You don’t have to break the bank to achieve fabulous results.
- It is fun to come up with different variations.
- You can use different materials to create a one of a kind backdrop.
- It is also easier than you think.
DIY – Photography Backdrop with Peel & Stick Vinyl Tiles
For this project, I decided to use peel and stick vinyl tiles. I have been wanting to do this for a long time. Since I never found the right kind and size of vinyl tiles, I just kept pushing this project back. Finally, after months of searching, I got the ones that I felt would work for me.
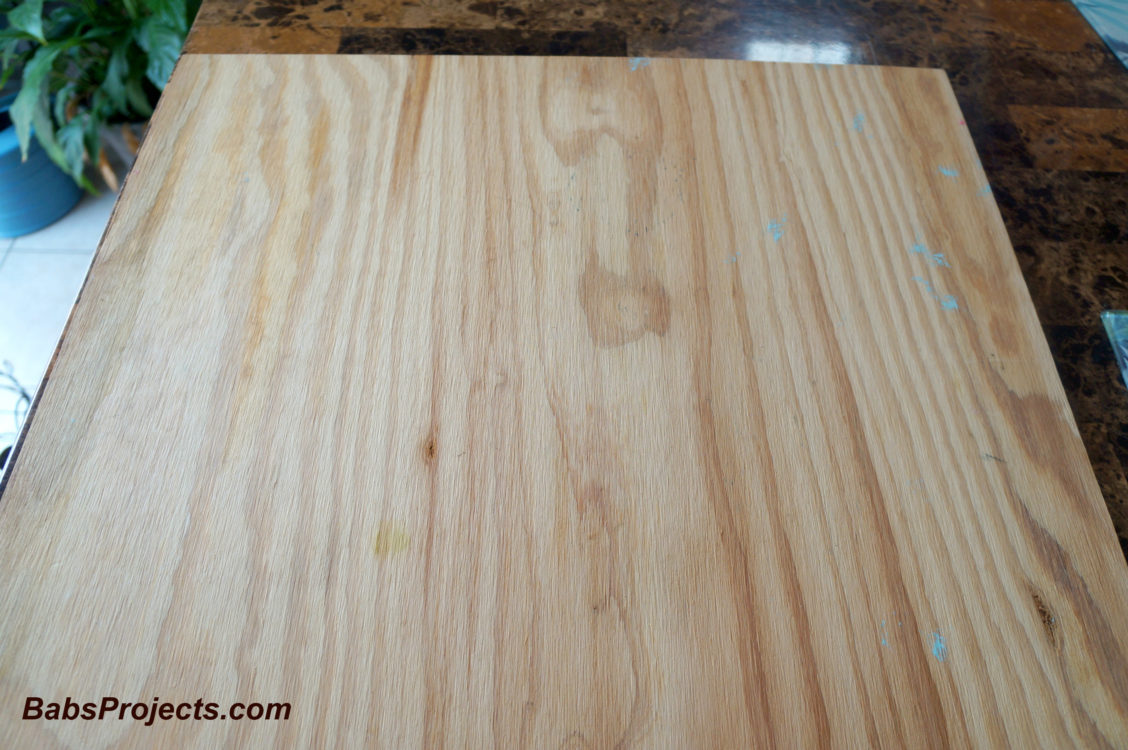
For the first backdrop, I used a 2′ x 2′ plain plywood which I already had at home. I had originally bought it from home depot. I asked my husband to help me while I took the pictures. We used the 12″ x 24″ Carrara Marble vinyl tile. As you can see below, the first thing he did was peel off the white backing.
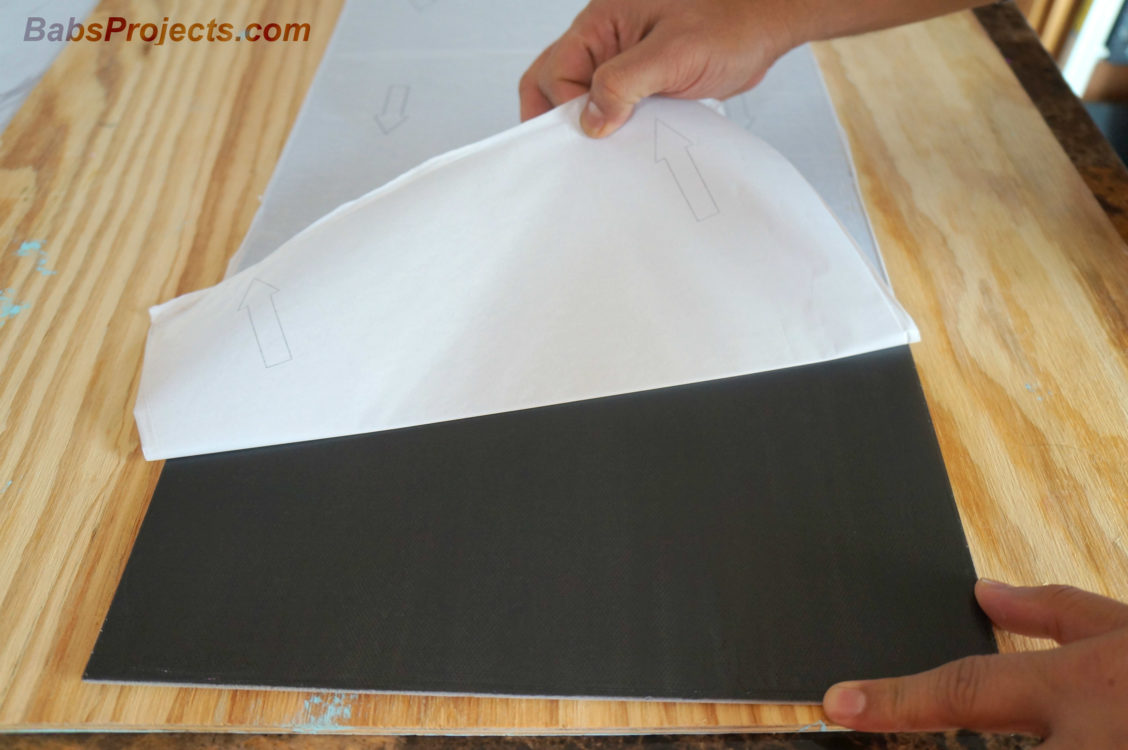
He then stuck the vinyl tile on one side of the board. He repeated the same process and finished the rest of the board. We needed only two of the peel and stick vinyl tiles. After he was done with it, he placed some weight on it to make sure so that the vinyl tiles would properly adhere to the plywood and not fall off. It was that easy and quick.
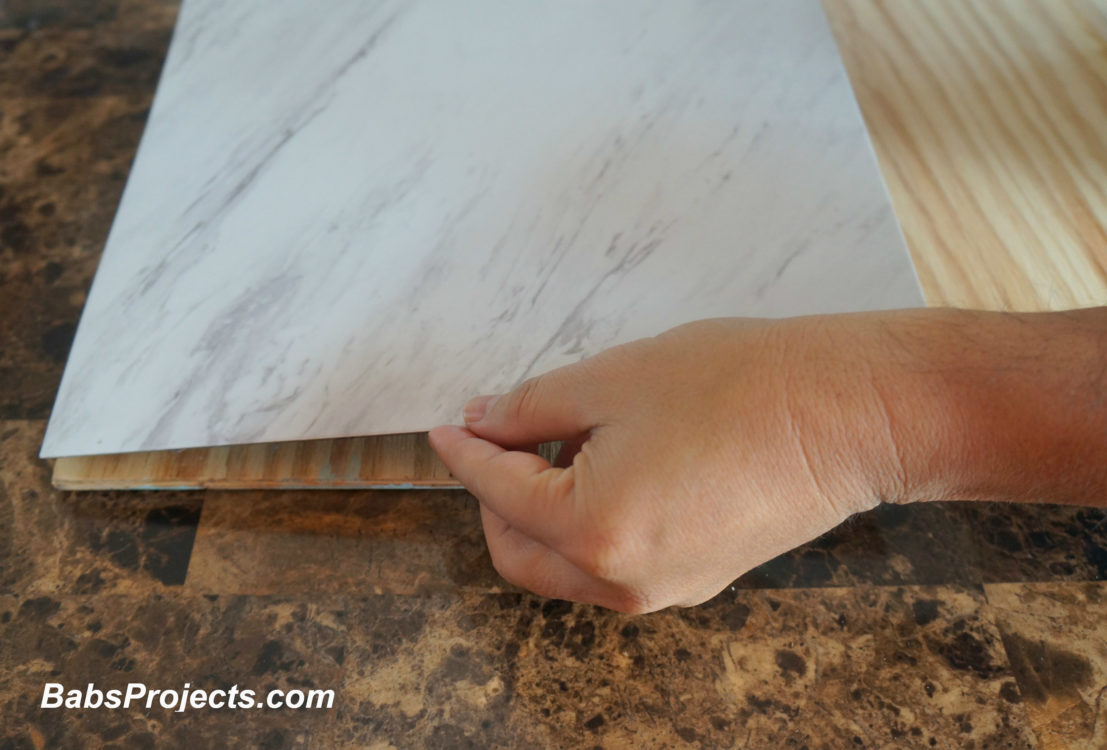
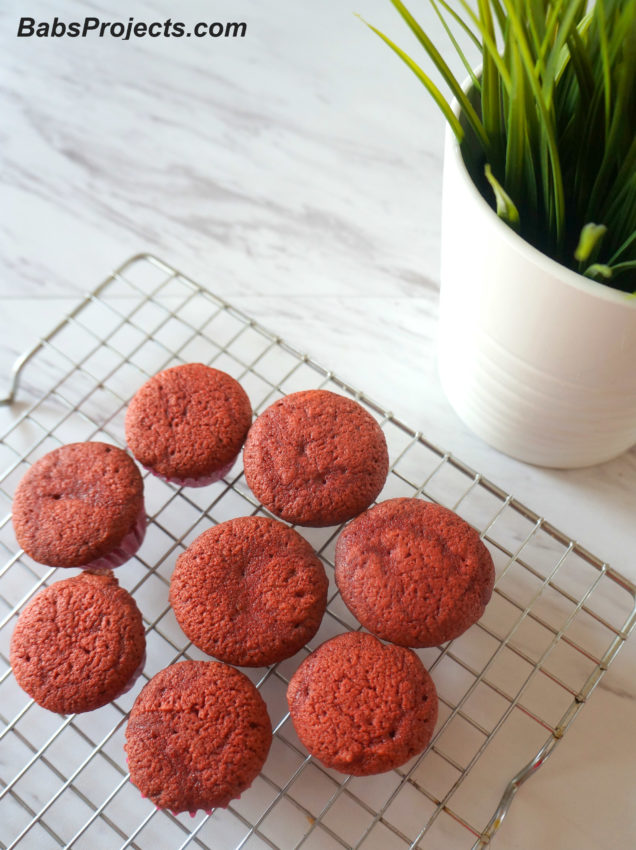
I took some test pictures and I love how this backdrop looks. It makes all these other colors in the picture pop out. If you look carefully you can see the center seam. However, I can always hide it with proper food styling.
TrafficMASTER Model # SS1212 12 in. x 24 in. Peel and Stick Carrara Marble Vinyl Tile (20 sq. ft. / case) TrafficMASTER Allure 12 in. x 24 in. Harrison Slate Vinyl Tile (24 sq. ft. / case)
Now for the second backdrop, I decided to use another existing board. You can see it is already painted and this was a part of my previous project. I was bored of this backdrop and decided to re-purpose the board.
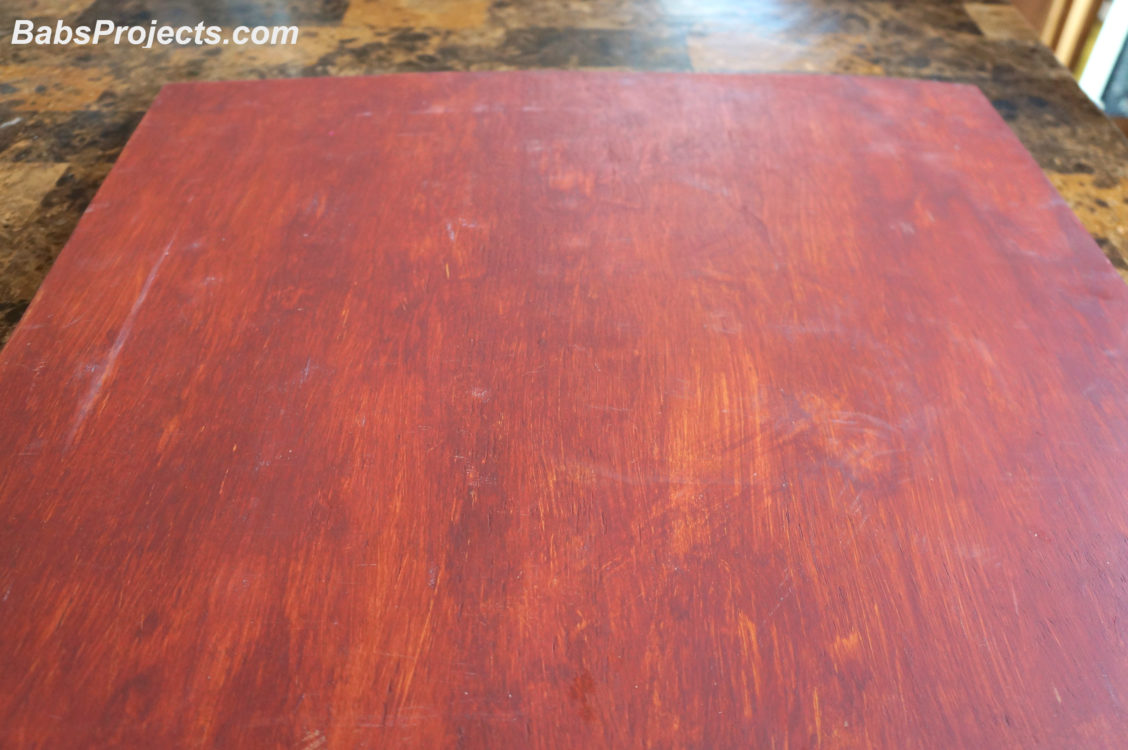
For this one, I used the Industrial Stone vinyl tile. I wanted some darker and not so clean backdrop, so chose this one. My husband followed the same process. Peeled the backing and stuck the vinyl tiles over the board.
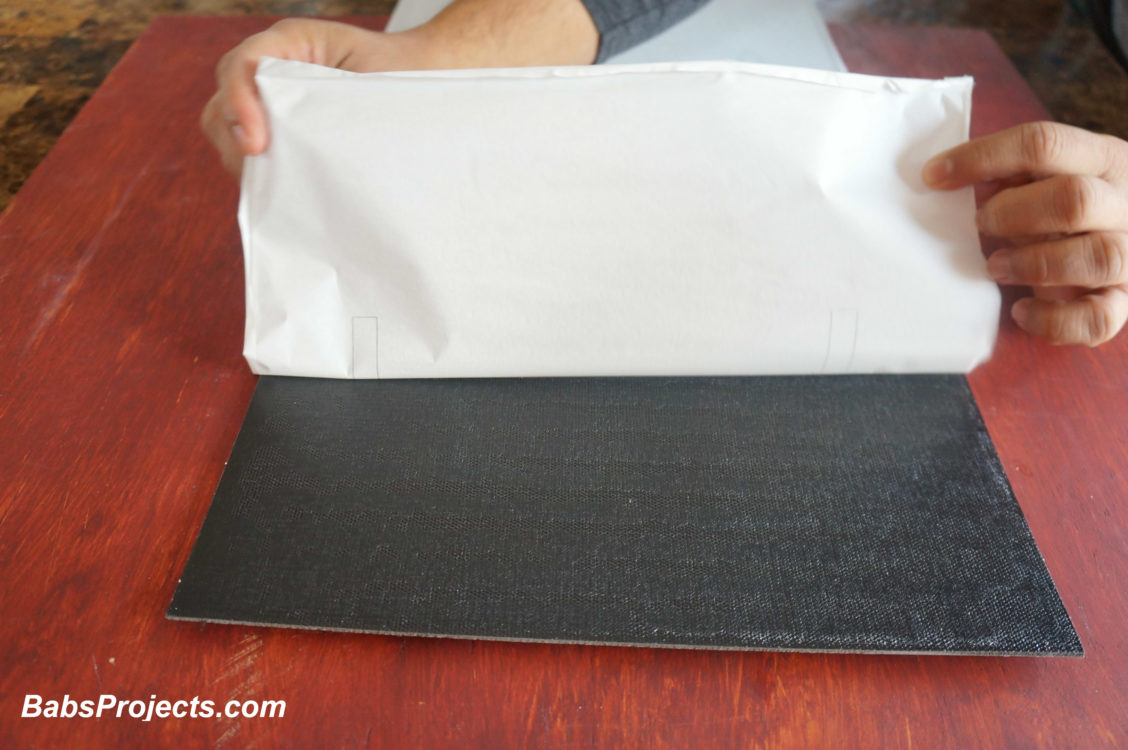
We were literally done over it in seconds. I think the pictures took more time than the creation.
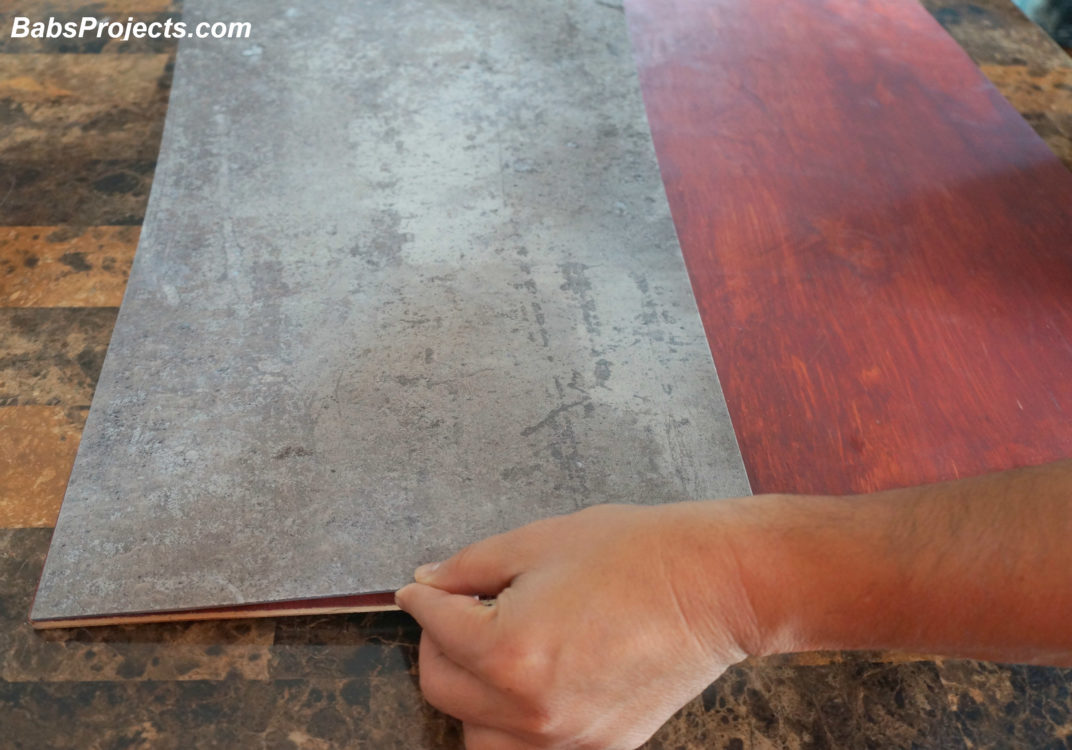
The test pictures I took with this background looked awesome too. In this backdrop, the seam of the tiles is not very visible. So I love that effect.
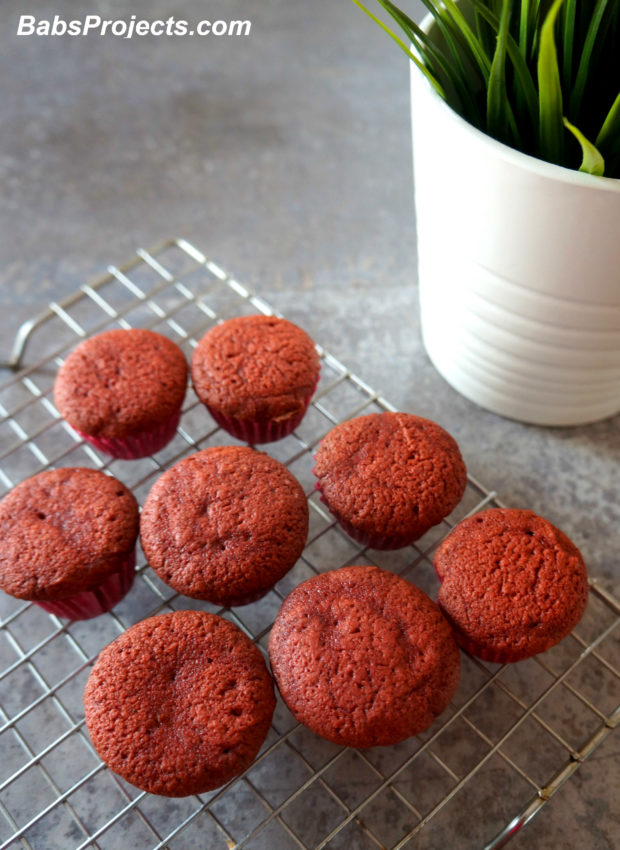
For less than $10 I had two brand new photography backdrops. The time spent was less than 15 mins.
I hope you enjoyed this quick tutorial on how to make photography backdrop with peel and stick vinyl tile.
Also, check out my previous project with painted backdrops.
Disclosure: This post contains affiliate links



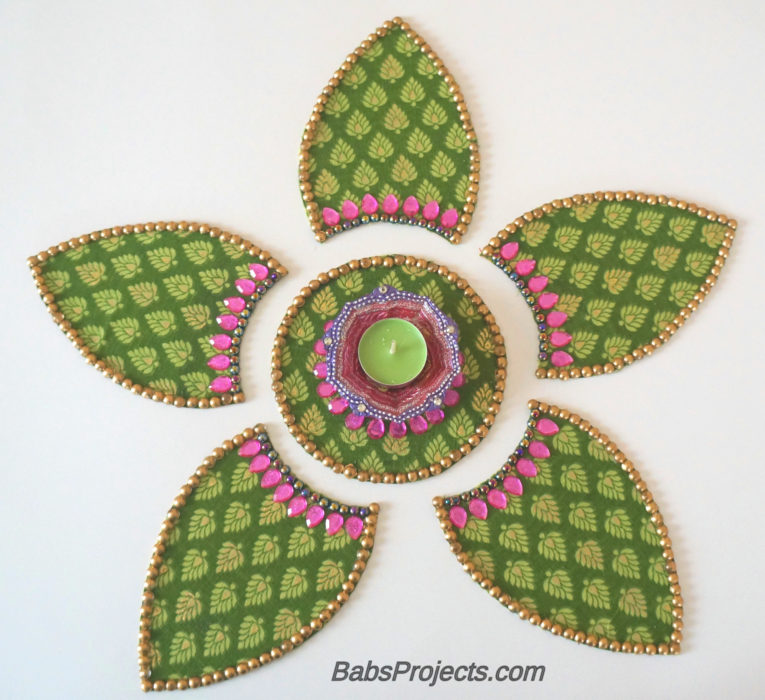 How to make Fabric Kundan Rangoli with Old Dupattas
Leave a Reply